
In the quest for a straightforward note-taking app that seamlessly syncs across all devices, I found myself exploring various options. While Notion enjoys considerable popularity for its versatility, I discovered that its interface and feature set didn’t quite align with my preference for simplicity.
Enter Apple Notes. At first glance, I questioned whether this free app could truly meet my needs. However, upon closer inspection, I realized that Apple Notes offers a compelling solution for those seeking a hassle-free note-taking experience.
Here are all the tips you need to know to start using this digital tool effectively.
Summary
ToggleCreating a New Note and Scan Document
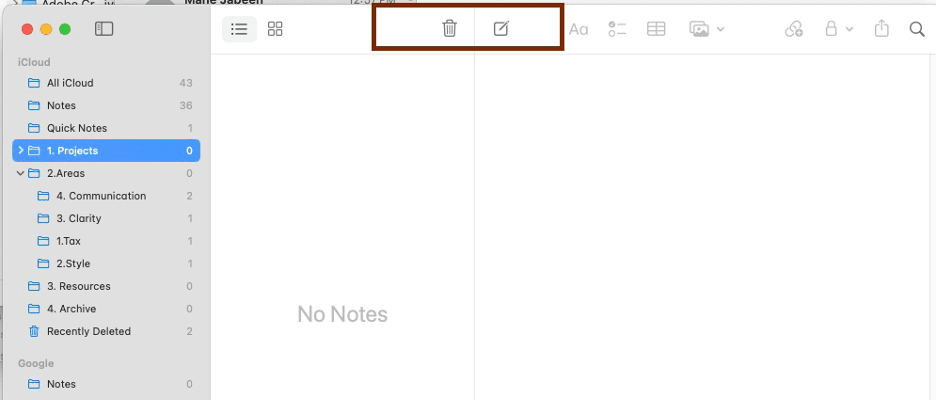
- On iOS/iPadOS: Open the Notes app, tap the “New Note” button (pencil icon) in the bottom right corner.
- On macOS: open the Notes app and click the “New Note” button (pencil icon) in the toolbar.
- Use your device’s camera to scan documents directly into Apple Notes. Tap the camera icon, then select “Scan Documents”. Align the document within the frame, and the app will automatically capture and enhance the scan.
Formatting Text
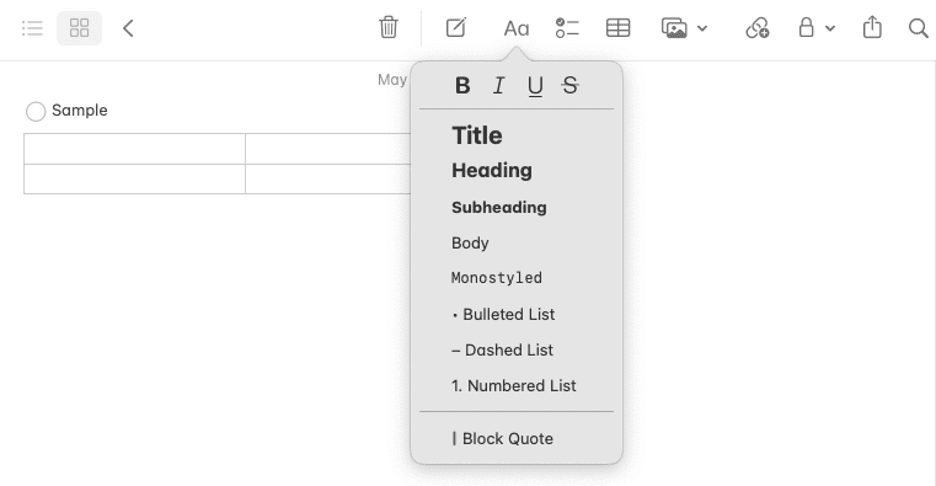
- You can format text in your notes by selecting it and using the formatting options that appear. These include bold, italic, underline, font size, and font color.
- On macOS, you have additional formatting options like text alignment, bulleted and numbered lists, and indentations.
Adding Images and Attachments:
- To add an image, tap the camera icon on iOS/iPadOS or click “Insert” > “Choose from Photos” on macOS. Select the image you want to add.
- You can also add attachments like PDFs, documents, and scans. Tap the “+” button and select “Add Attachment” on iOS/iPadOS or click “Insert” > “Attach Document” on macOS.
Organizing notes:
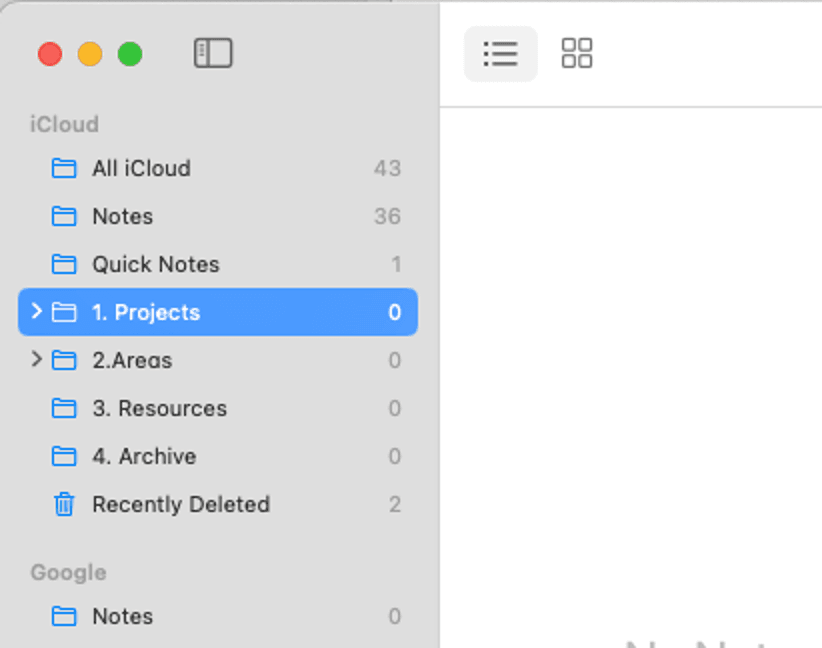
- Create folders to organize your notes. On iOS/iPadOS, tap “Edit” > “New Folder” or long-press on a note and select “Move” > “New Folder”. On macOS, click “File” > “New Folder”.
- Drag and drop notes into folders to keep them organized.
I am a big fan of Tiago Forte’s second brain concept. Apple notes help me easily build my second brain using the PARA method.
Here’s a breakdown of each category with examples and how you can implement them using Apple Notes:
Projects
Definition: Short-term efforts with a specific goal and a deadline.
Examples:
- Work: Launch new website, Prepare quarterly report, Organize team-building event.
- Personal: Plan a vacation, Complete an online course, Renovate the kitchen.
Areas
Definition: Ongoing responsibilities without a specific end date.
Examples:
- Work: Marketing, Client Relations, Team Management.
- Personal: Health, Finances, Home Maintenance.
Resources
Definition: Topics or themes of ongoing interest.
Examples:
- Work: Industry Research, Professional Development, Tools & Software.
- Personal: Hobbies, Travel Destinations, Books to Read.
Archives
Definition: Inactive items from the other three categories that are no longer needed regularly but might be useful in the future.
Examples:
- Work: Completed projects, Old meeting notes, Past reports.
- Personal: Previous travel itineraries, Finished courses, Old financial statements.

Searching Notes
Use the search bar at the top of the Notes app to quickly find specific notes. Type keywords, and Notes will show matching results in real-time.
Creating a Smart Folder in Apple Notes allows you to automatically organize notes based on specific criteria
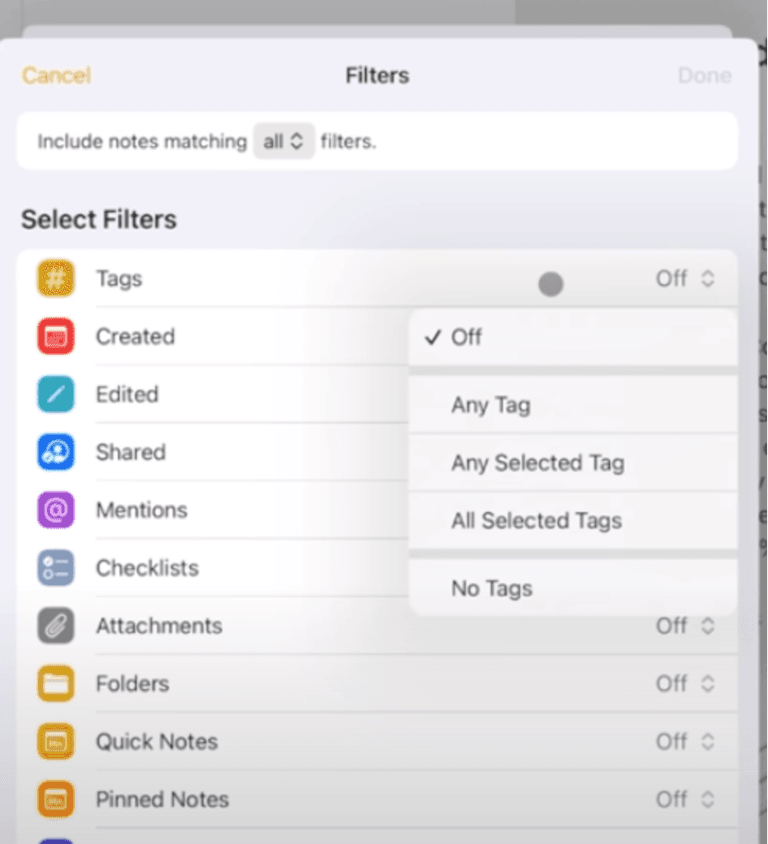
- You will see a list of criteria you can use to filter notes. These may include:
- Tags: Select specific tags that the notes must have.
- Dates: Filter notes based on creation or modification dates.
- Attachments: Filter notes that contain attachments, like images or documents.
- Shared Notes: Include notes that are shared with you or others.
- Checklists: Include notes that contain checklists.
- Choose the criteria that best suit your needs. For example, you can select tags to create a Smart Folder that includes all notes tagged with #research.
Syncing Across Devices:
Apple Notes syncs automatically across all your Apple devices using iCloud. Ensure that iCloud syncing is enabled in your device settings to access your notes on all devices seamlessly.
Sharing Notes:
You can share notes with others via email, Messages, AirDrop, or third-party apps. Tap the share icon in a note and select the sharing option you prefer.
Locking Notes:
Keep sensitive information secure by locking individual notes with a password or Touch ID/Face ID. Tap the share icon, then select “Lock Note” and follow the prompts to set a password.

Using Siri Integration:
You can create new notes, add to existing notes, or search for notes using Siri voice commands. Just activate Siri and give the command, like “Create a new note in Apple Notes”.
Collaborating on Notes:
Apple Notes allows real-time collaboration with others. You can invite people to collaborate on a note by tapping the share icon and selecting “Add People”. Collaborators can view and edit the note simultaneously.
Customizing Settings:
Explore the Settings menu in the Notes app to customize preferences like default text style, lines and grids, sorting order, and more.
Here is what my workflow looks like with Apple Notes:
Example Workflow
Daily Capture:
- Morning: I review my to-do lists and any notes tagged with #today.
- Throughout the Day: I capture ideas, tasks, and information as they come up using Quick Notes.
- Evening: Organize new notes into appropriate folders and tag them accordingly. It is a must to organize the notes at the end of each day. Otherwise, you may feel overwhelmed.
Weekly Review:
- Review your notes from the past week.
- Update your task lists and project notes.
- Reflect on any ideas captured and plan for the upcoming week.
By following these steps, you can make the most out of Apple Notes to organize your thoughts, capture important information, and boost your productivity across all your Apple devices.